I recently decided to migrate my website 🚄💻 from GitLab to Codeberg 🏔️. There’s a lot to love about Codeberg, it’s based on Forgejo (a light-weight open-source software forge like Github or Gitlab and it’s name is in Esperanto; my favourite language), is community run, based in Germany 🇩🇪 and even offers its own Woodpecker 🐦 CI, which allows you to automate the compilation process.
Codeberg offers you two ways to host a static website. The first way is to make a repository called pages and the second way is to create a repository with any name possible and then create a pages branch. Though the first approach is relatively easy, but I want to create multiple simple static websites with Codeberg, which would be located in seperate repositories, which is why this tutorial focuses on the latter method.
This tutorial will show you how to setup your Hugo website with Codeberg and then use Cloudfare to setup a custom domain for your website.
Hugo#
Hugo is a great static site generator, and an amazing FOSS alternative to Wordpress et al. I can really recommend following the steps of this short tutorial on how to setup Hugo from the official website. It’s all easy, but Video tutorials make everything even easier and teach you a neat trick or two - once you’ve setup the basics, you can then start working with Hugo Themes and customise them - a good looking theme I used to use is PaperMod. Here’s one tutorial I can recommend:
You can compile and see your website (locally host it) if you run:
hugo server
But now it’s time to bring our website to Codeberg
Codeberg#
Create a Codeberg account and then create a new repository, you can name it whatever you want, I’ll pick the name MyWebsite. Add a short description, pick a licence (I really like the Apache-2.0 licence) and then click on Create repository, the rest can stay as it is. We now need to upload our contents to Codeberg.
git remote add origin https://codeberg.org/<USERNAME>/MyWebsite.git
git add .
git commit -m "Uploading to Codeberg"
git push origin main
Codeberg CI#
To get access to the Codeberg woodpecker CI, you have to request access to Woodpecker. Once your application is approved, create an .woodpecker folder in your Hugo directory. Inside the newly created folder then add a file named woodpecker.yml and fill in the following content:
# hugo.yml
#
# Takes a repository with Hugo source, generates the static site and
# pushes the result to Codeberg pages
#
# Needs a codeberg access token (codeberg_token) as a secret in Woodpecker config
# Make sure the codeberg_token has "Repository and Organization Access" -> "package" -> "Read and Write"
# Also uses another secret (mail) with email address for git config
#
# .domains file in the repository is copied to the output branch so custom domains work
#
# The HUGO_OUTPUT variable must be set to the build output folder configured in Hugo
#

# Exclude page pipeline to be run on "pages" branch
when:
  branch:
    exclude: pages
  event: [push, pull_request]

# Recursive cloning is used to fully clone the themes given as Git submodules
clone:
  git:
    image: woodpeckerci/plugin-git
    settings:
      recursive: true

steps:
  # Build hugo static files
  build:
    image: hugomods/hugo:exts
    commands:
      - hugo --minify
    when:
      event: [pull_request, push]

  publish:
    image: bitnami/git
    environment:
      HUGO_OUTPUT: public
      # secrets must be set in Woodpecker configuration
      MAIL:
        from_secret: mail
      CODEBERG_TOKEN:
        from_secret: codeberg_token
    commands:
      # Git configuration
      - git config --global user.email $MAIL
      - git config --global user.name "Woodpecker CI"
      - git clone -b pages https://$CODEBERG_TOKEN@codeberg.org/$CI_REPO.git $CI_REPO_NAME
      # Copy build step output to repository folder
      - cp -ar $HUGO_OUTPUT/. $CI_REPO_NAME/
      # Needed for custom domains
      - cp .domains $CI_REPO_NAME || true # Ignore if it doesn't exist
      # Commit and push all static files with pipeline started timestamp
      - cd $CI_REPO_NAME
      - git add .
      - git commit -m "Woodpecker CI ${CI_COMMIT_SHA}"
      - git push
    when:
      event: push
For more details you can check Codeberg CI examples, our woodpecker script will copy the contents of our repository to a docker container, compile the hugo website and copy the contents of the public directory (which gets created whenever you render a hugo website) to the branch pages, which will host your website. Every time you’ll push a new change to your repository, your website will be rerendered automatically (without woodpecker we’d have to do this manually).
Next we need to add the repository to Woodpecker:
Next open Codeberg in a separate tab and click on your user icon and then select settings.
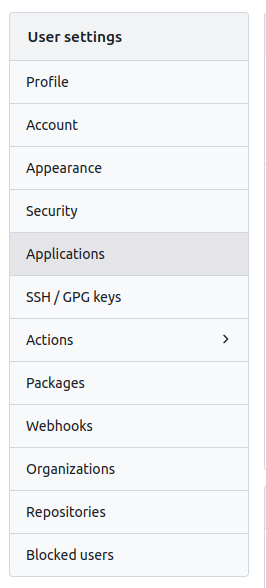
Go to the Applications tab and then enter the name of the access token (it can be myWebsite).

organisation, package and repository to Read and write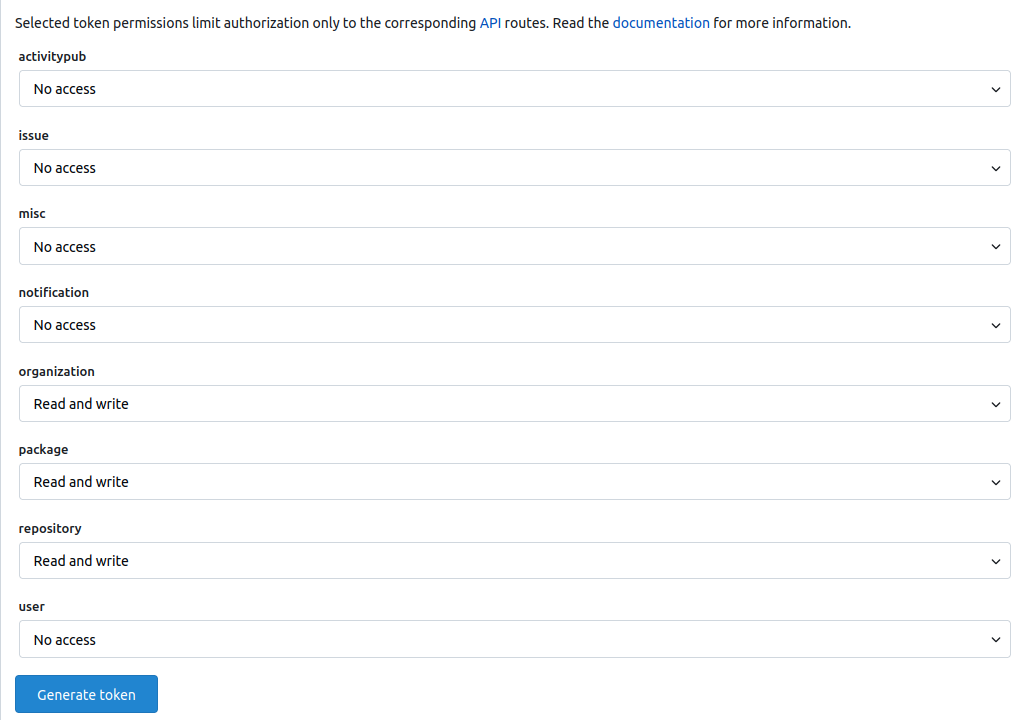
Then click on generate token!
If all went well you should see the following message:

Then copy the string generated below and go back to Woodpecker. Click on project settings and go to the Secrets tab

Then add a secret, enter the name of the access token - it must be codeberg_token - and paste the string you copied earlier to Value. Then click Add secret at the bottom of the page.
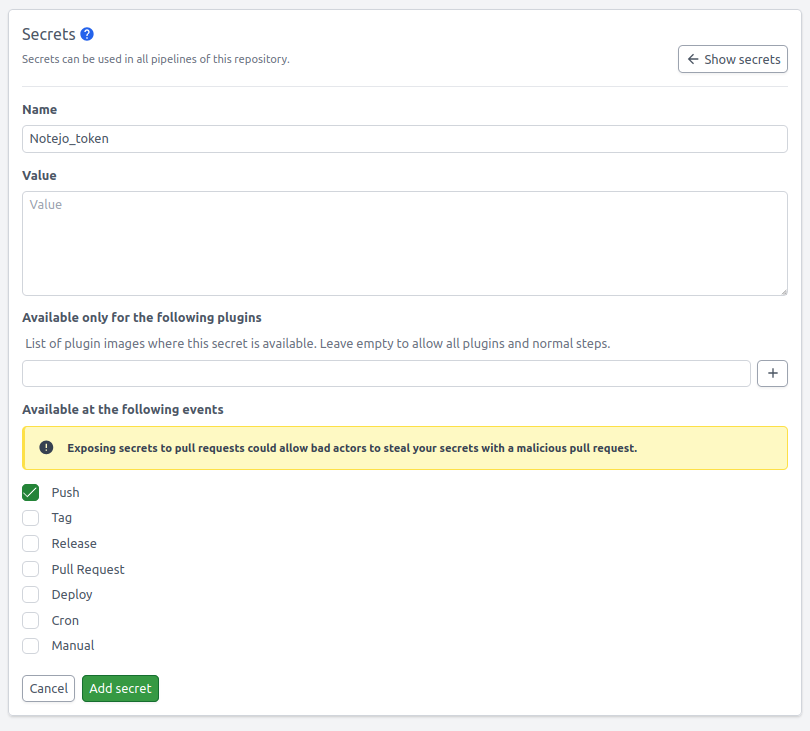
Then add another secret called mail with the email address you use for Codeberg.
To test if everything works as it should, change something in your hugo website folder and commit it to Codeberg.
git add .
git commit -m "Upload"
git push origin main

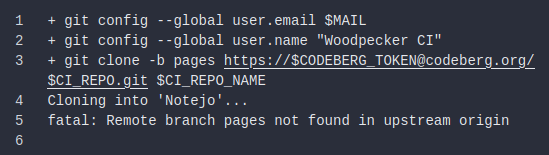
Oh no what happened? Well turns out we forgot to create the pages branch, so let’s do that!
git checkout -b pages
git add .
git commit -m "Created pages"
git push origin pages
Don’t forget to run git checkout main once you’re ready.

If you now head over to Codeberg and switch the branch from main to pages:
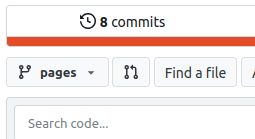
Then you’ll see the contents which were rendered by Woodpecker. Neat! Where is our website? You can access your website at:
https://<your-username>.codeberg.page/<your repository name>
But before we move on we should create one more file in the main branch of our website: .domains This file will redirect all the addresses specified below the first row to the address in the first row. Here’s how that can look like:
<your custom domain>
www.<your custom domain>
If your website looks odd, that’s because there’s a mismatch between the URL specified in your config files and the actual URL of the website. Don’t worry too much about it, what matters now is that you see something.
Cloudflare#
The next part is all about configuring the DNS for your website. Sadly the documentation provided by Codeberg at the time of writing this article contains wrong instructions.
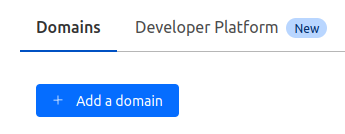
First and foremost you’ll have to purchase a domain from Cloudflare - then go back to your account home and click on the domain you just purchased. Next click on DNS: We will have to add four records!
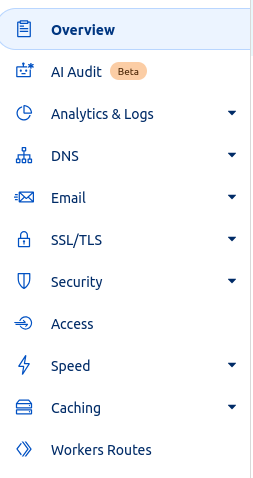
Click on add record and then add:
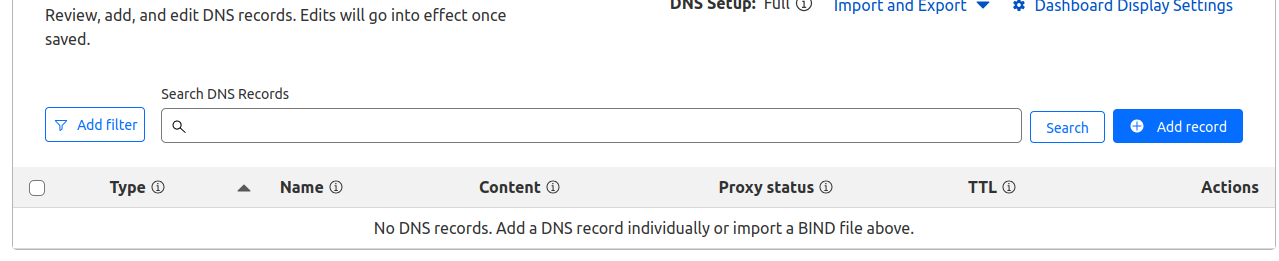
The record will look like this A : (name) : (IPv4 Address)
A:<your custom domain or simply @>:217.197.91.145
The second one is AAAA : (name) : (IPv6 Address)
AAAA:<your custom domain or simply @>:2001:67c:1401:20f0::1
The third one is CNAME : (name) : (target)
CNAME:www:<your repository name>.<your username>.codeberg.page
And the final one TXT : (name) : (content)
CNAME:<your custom domain>:<"<your repository name>.<your username>.codeberg.page"

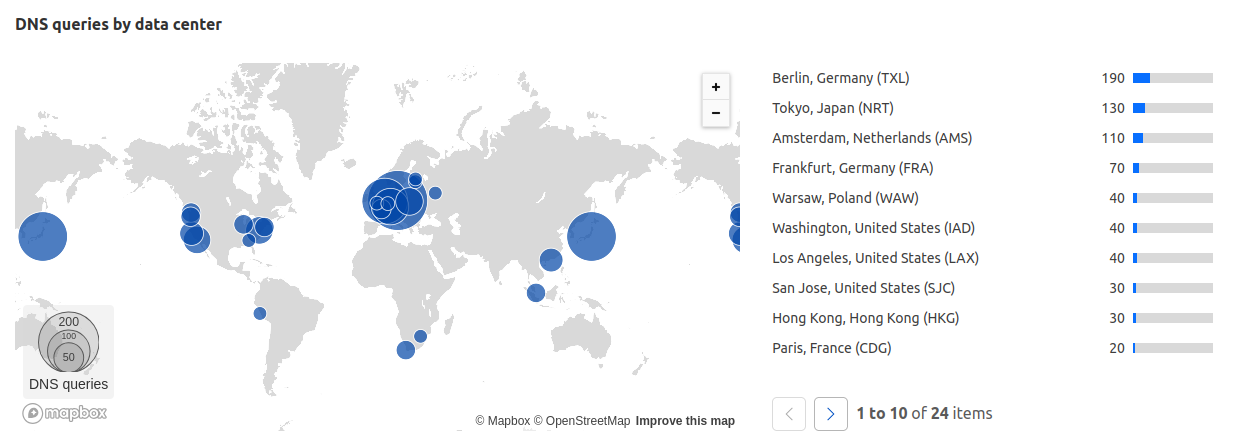
The cool thing about Cloudflare is that you can also check some very basic analytics data about your website without you having to use Google analytics or some other dodgy privacy-infringing tool.
And there we go! You will probably now be notified, if you try to access your custom domain, that your website is insecure. This is because all the certificates need some time (up to a few hours) to be created. You’ll have to wait a little, but after a short while you should be able to access your brand new hugo blog with a custom address! Congrats!
Reply by Email